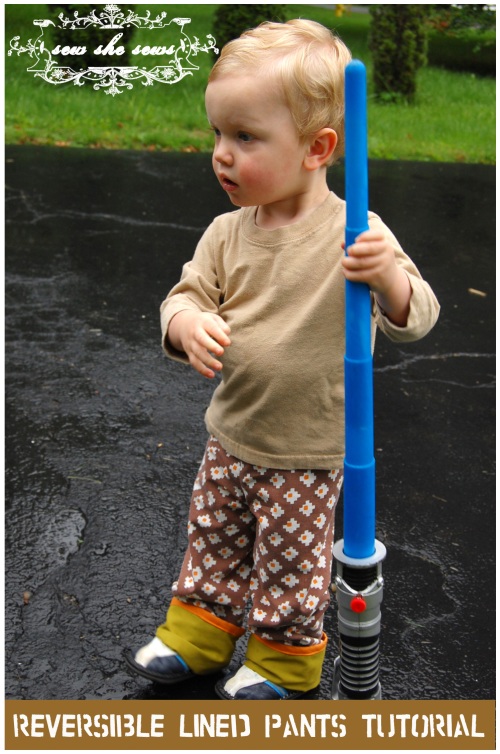
It’s monday (almost) and time for that tutorial! 🙂 These pants are so versatile and EASY to make. I am kicking myself for not making them sooner. They are like two outfits in one people! They spill something on them? Whip those things off and flip them inside out and put those puppies back on like it never happened 🙂 Are you ready? Let’s break it down! (sorry, lots of Yo Gabba Gabba today).
Why yes, I do know that my baby boy is the cutest thing to grace this planet we call Earth! Thank you 🙂
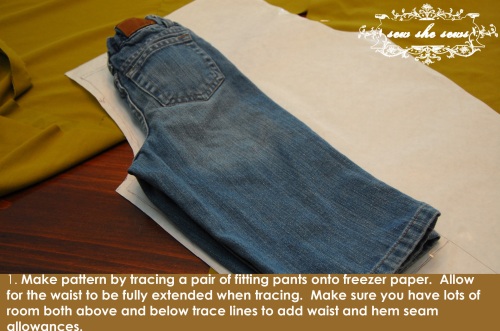
Step 1. Gather supplies and draft your pattern. Making a pattern for pants is SUPER easy. It’s almost ridiculous. Get some freezer paper handy if you have it, it makes the best pattern paper.
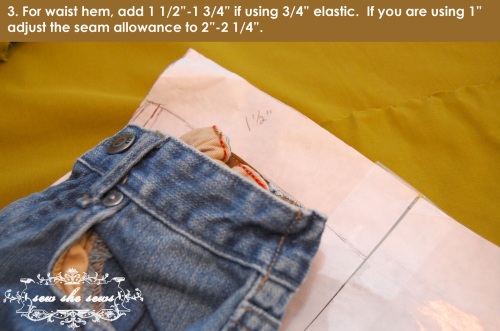
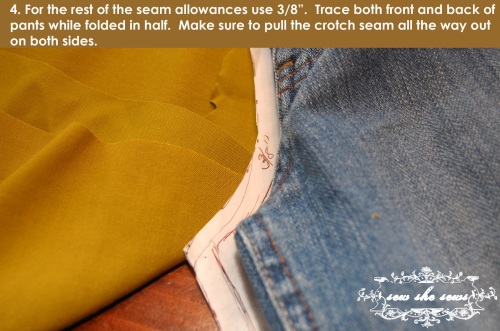
2. Trace around the pants and then add seam allowances. See photo for measurements I used. You can feel free to adjust to whatever best suites your taste. It is pretty hard to mess these up as long as you get the crotch area right.
3. Make sure to make ample seam allowance for waist band.
4. I used a 3/8″ seam allowance, but I think from now on I will use 5/8″. Also, I would add a bit more to the butt area when tracing the back. Diapered bums are big. 🙂 So I would drop the point out an inch further even and make it roomier. Rule of thumb, just trace the bum of the pants and then add an inch or so extra just in case.
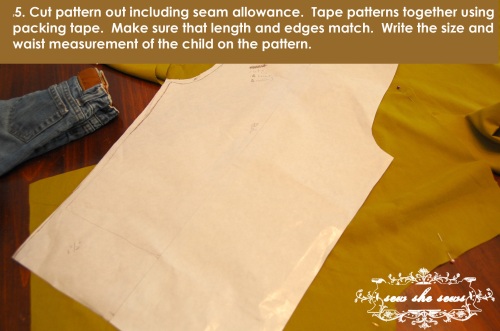
5. Tape pattern pieces together, the shiny side will face up one half. It doesn’t matter. I use packing tape to get them to really stay put. You just drafted a pattern! How cool is that?
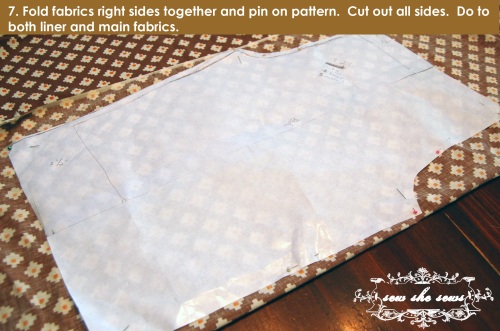
7. Repeat after me, right sides together, right sides together. Don’t forget that bit. You can even fold both liner and main fabrics right sides together, stack them, and then pin the pattern onto all 4 layers and cut all at once. I like shortcuts. They make me happy 🙂
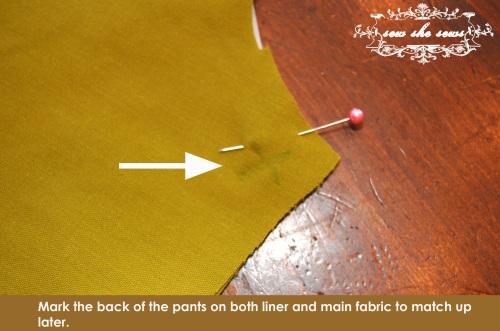
*after you have cut out the fabrics, mark the butt of the pants on both the liner and main fabrics with a erasable marker or chalk. You want to be able to match them up when assembling the pants. You don’t want a crotch and a butt!
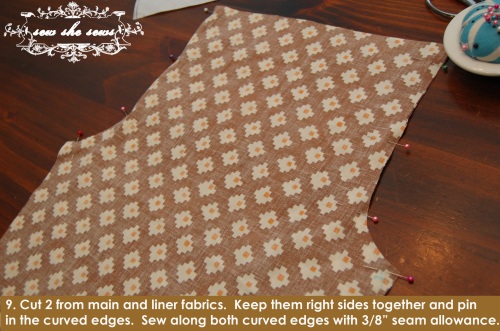
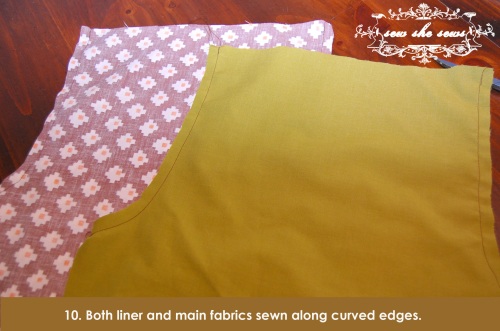
9. Pin along curved edges and sew with your chosen standard seam allowance.
10. Sew all curves on both liner and main fabrics.
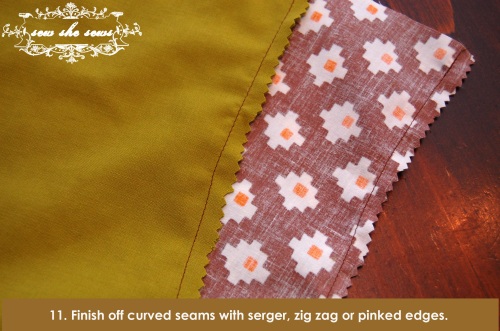
1. Because you are lining these pants, you need to finish of the seams so they don’t fray and unravel. My serger is in the shop so I opted to pink the edges. You can also zig zag them.
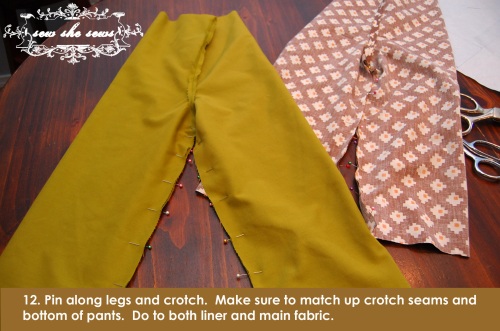
12. Now look at that! They are starting to resemble pants! Pin along the other edges taking care to match crotch seams and bottoms of pants.
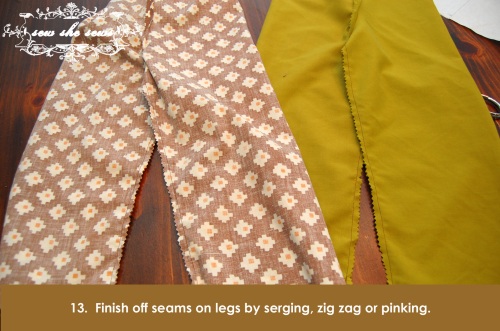
13. Finish off these seams as well.
14. Flip main fabric pants right side out. Leave the liner inside out.
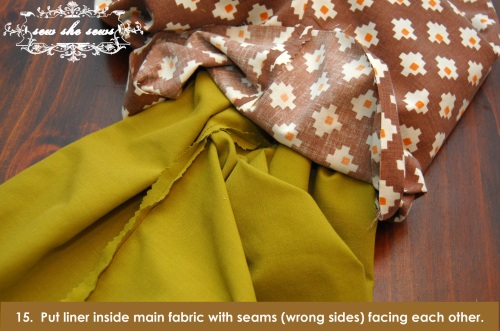
15. Now tuck the liner into the pants! You want the seams matching each other inside (wrong sides together). Pull liner legs down and match with bottoms of the main pants. Make sure to match bum to bum using your markings!
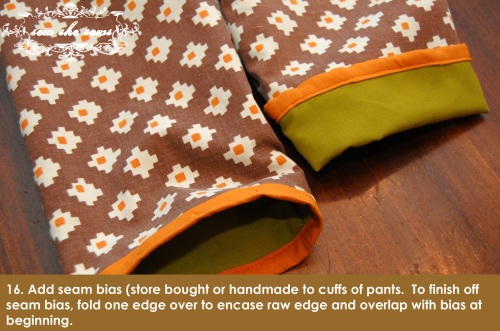
16. I decided to finish the bottom of the pants with coordinating seam bias. Store bought works great or you can make your own very easily! Another option is to simply fold and iron the main and liner fabrics in towards each other and top stitch the bottoms. Basting the layers together might be helpful with some fabrics to get them to stay together. I used vintage sheets and they stuck together pretty well and I had no problems.
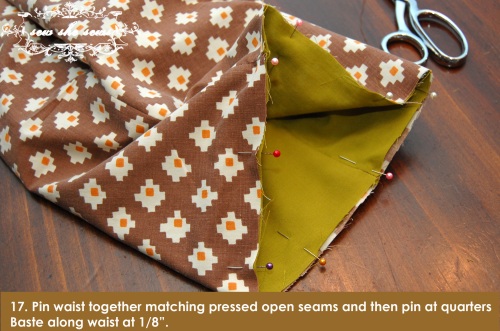
17. Pin waist layers together at seams and then into quarters distributing the fabric evenly around.
18. Measure the child’s waist and cut elastic (non roll kind works best) that length+2″ for overlapping to sew closed at ends. So an extra 1″ per end. Did that make sense? It is late and my brain is mush. If not, leave a comment and I will try it again. 🙂
Iron waist band down 1/4″ and then another 1 1/4″.
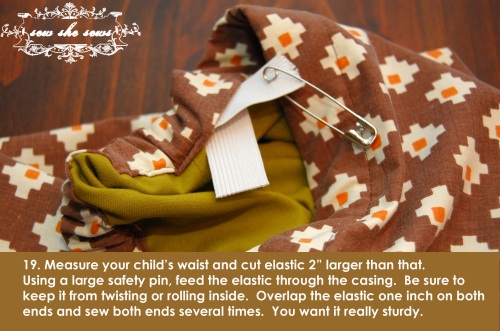
19. Feed elastic through casing with large safety pin. Overlap 1″ on each end and sew several times over securely.
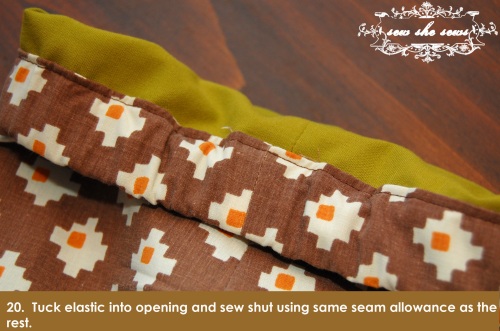
20. Pull on the waist band to get the elastic to retract into it and then sew the opening shut using same seam allowance as the rest of the waist band.
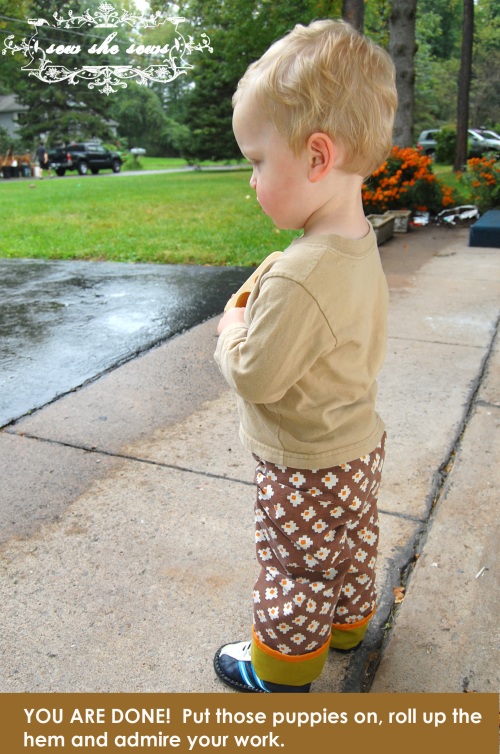
That’s it! Easy, no? Now go and make some! And then, come and show us all on Flickr! Happy sewing!







These are so cute! I can’t wait to try it out.
QUESTION… hi so Ive made a few pairs now – and I ve got the alignments just right…. but i was wondering… are reversible pants -the liner part- does it naturally get a little “twisted” as the child steps his/her feet into it? I ve noticed this mainly when I complete the patteren and Im adjusting and inspecting just before I apply elastic- that the inner material is a little fickle… In the sense I feel like I should be able to shake out the bottoms and simply glide my arm from the waist to leg opening or vs versa- but i always find myself fiddeling for a few minutes to “untwist” the liner- now i know what your first thoughts are are her side seams matching? YES- do the crotch to waist seams match-YES Do the final binding seams match up-YES…. Sooo Im left thinking this is a normal liner issue???
It may just be the weight of the fabric and it just gets twisted. Sorry you are having trouble 😦
Ta da~ it was a weight issue, after I took a sec to think about the material having a role play I set aside the satins n silks i was using for the inside liner(aka reversible side) and went to both materials being cotton or fleece. Worked out much easier- though my goal is still to put my scrap s&s to use, was hoping to make silky lined pjs for the kids- but i am concluding that the ligh weight twists Thank you for the steps, between your site, a basic commericial patteren i had and http://shwinandshwin.blogspot.com/2012/04/reversible-knit-baby-pants-with-pdf.html –I have been getting closer to the ideal pj i am interested in sewing 🙂