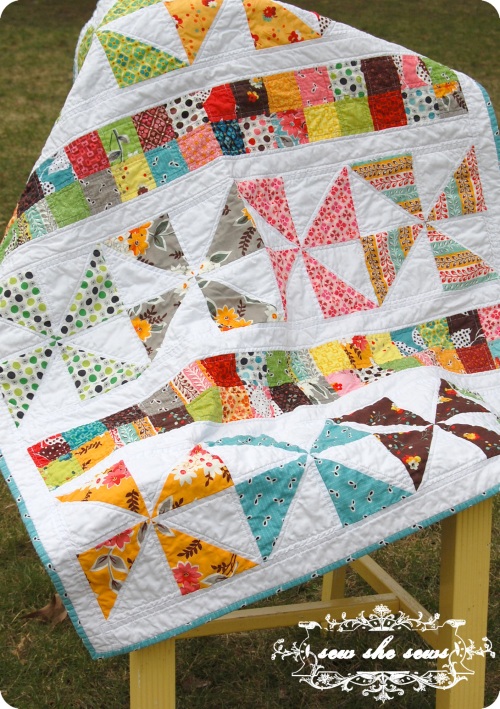
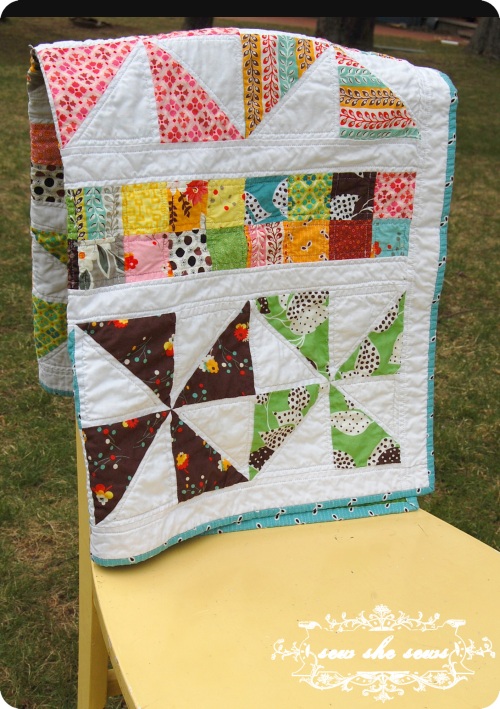
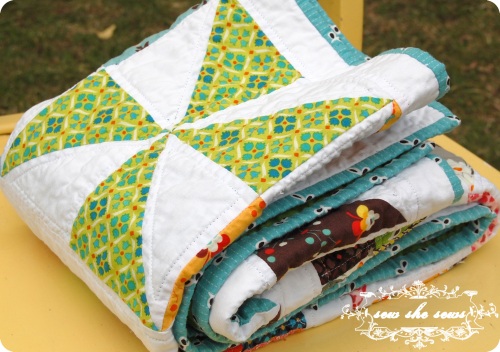
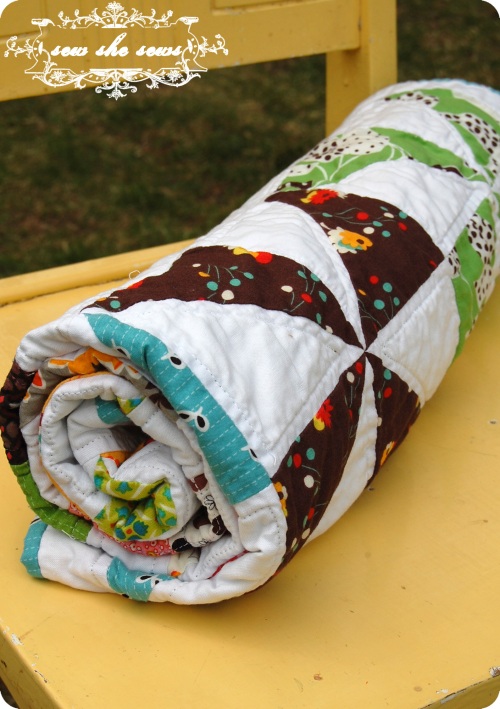
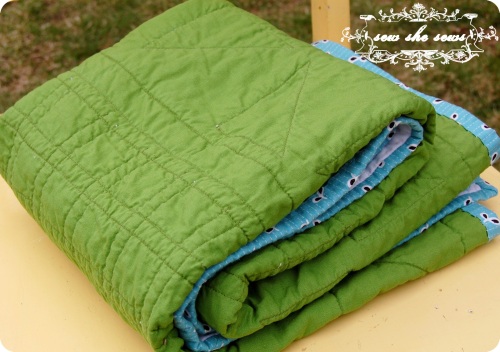
Here is the completed quilt. I am glad to finally have it done. It did not turn out quite like I envisioned in my head and there are lots of mistakes, but I feel ok with that. I washed and dried it today and I like how it turned out. I promised a tutorial of sorts, so see below the pictures for that.
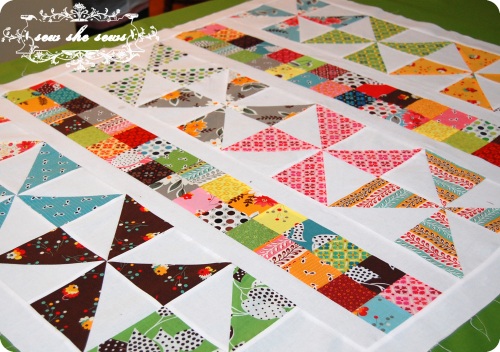
Pinwheels and Postage Stamps Baby Quilt
Measures approx. 32″x40″
Materials needed
- solid and patterned fabrics. Fq’s of patterned fabrics should be plenty for this size if you use variety. For the solids, buy a yard or so.
- 1/2-3/4 yard fabric for binding
- 1 1/2 yard fabric for backing
- 100% cotton thread
- batting (Bamboo/cotton blend used)
- rotary mat and ruler
*all seams are 1/4″.
Step 1.
Cut out squares.
- For pinwheels you will cut out 5″ squares of equal amounts of solid and patterns. You will need two squares of each patterned and solid fabric to complete one pinwheel. I used 12 different fabrics for the pinwheels. So, 2 of each equaling 24 squares and 24 solid squares.
- For postage stamp squares cut 2.5″. I used 16 per row with 4 rows total.
- cut sashing out of solid at 2″x44″ for on top, sides and in between each row for a total of 8
- cut 5-6 staight bias strips for binding at 2.25×44.
Step 2.
Assemble blocks and rows.
- Your pinwheels should come out at 9″ and then will measure 8.5″ when sewn into the quilt top. For a good tutorial on pinwheels see here. Assemble 4 pinwheels together into a row. Press seams open when linking pinwheels together. Make sure to back tack on the open seams, opening the seams takes away a lot of bulk. Trim if necessary.
- sew your postage stamp squares in groups of 4 and trim and then assemble group of 4 into a row. Do that to all rows until you have 4 rows total
- Add sashing in between rows of pinwheels and 2 connected rows of postage stamp squares. This can be better seen here
- Add side sashing along entire length on both sides of top.
Step 3.
Quilt.
- Baste backing fabric (face down), batting, and top (face up) and pin or spray to hold.
- Quilt as desired. I wanted a cozy looking quilt so I quilted very minimally tracing the outline of each square 1/4″ inside.
- trim off excess
Step 4.
Bind.
I use this method here
Step 5.
Wash.
I always add vinegar to my wash and use dreft or woolite as a soap. The vinegar helps fabrics from bleeding. If you are worried (like with red fabrics) you can prewash your fabrics before starting. Dry using low heat.
The End! 🙂



Where do you find the time to do this!? You’re seriously amazing!!! I love all your fabric projects…ALL OF THEM!
GORGEOUS!
Lovely! The bright colors are cheerful. I am currently avoiding quilting my first quilt together, having pieced it and it sits, pinned and ready for love. I didn’t know about vinegar either – thanks for the trick!
SO gorgeous!
it is really beautiful jaime!
vinegar is also a natural fabric softener and helps remove stink. i also put a splash in the kids bath and it keeps the bathtub clean. fyi…
I love it, it is gorgeous!
Love it! Thanks for sharing.
Jaime, this is incredible! I am in love with everything about it, even the bits you wanted to be dfifferent, whatever those are… 🙂 🙂 🙂
You are my hero. Thanks for sharing!
I’m so inspired by this post! Such a lovely combination of colours… who wouldn’t be cheered up by all this! I’ve never been a huge fan of patchwork, but this has totally changed my opinion of it x
soo beautiful! 🙂
This quilt is so pretty! I love it. Thanks for the pattern. I am going to try it with a charm pack. I think it will work out.
this is really cute thanks for the awesome tutorial
you are welcome!
This is beautiful, and should be simple to make. I am going to put this project on my short list. Thank you
Love this pattern! Going to try it. Thank you for this pattern!
I absolutely loved your quilt. So much so, that I followed your tutorial (mostly) and made one of my own. Want to see? http://www.flickr.com/photos/53441996@N06/8465211003/in/set-72157626585781468
Thank you for such lovely inspiration.