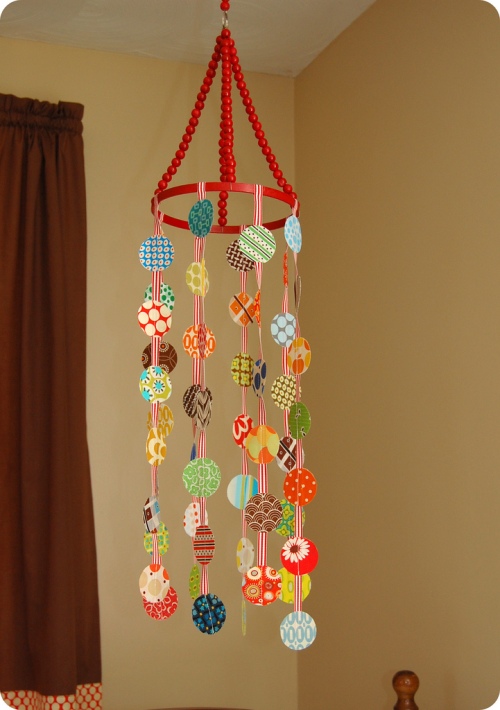
I created this beading tutorial to be used with my crib mobile tutorial. This can be applied to making jewelry as well. Please let me know if you have any questions! 🙂
Here is a pdf file of the tutorial if that is more convenient.
*I wanted to note that the easiest way I have found to paint the hoop and beads is to use spray paint. To paint the beads I get the floral syrofoam (green stuff) and bamboo skewers. Cut skewers to around 4 inches long. Make sure that beads stay suspended on the skewers and don’t fall all the way to the bottom. If they do, wrap a layer on masking tape in the middle of the skewer to keep them suspended.
Paint top portion of beads and then when dry, flip the beads over on the skewers and paint the other side. This can also be hand done with acrylic paints.
Beading Instructions
supplies:
-beading wire
-crimp beads or tubes
-beads
-wire snips
-crimping pliers or can use needlenose pliers
-large split ring
-4 small split rings (found in craft shops in the beading section)
1. Gather Supplies
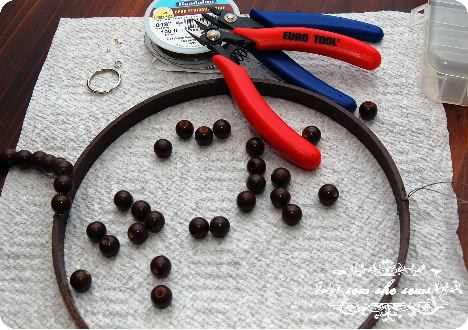
Here are the supplies that you will need to complete this
project.
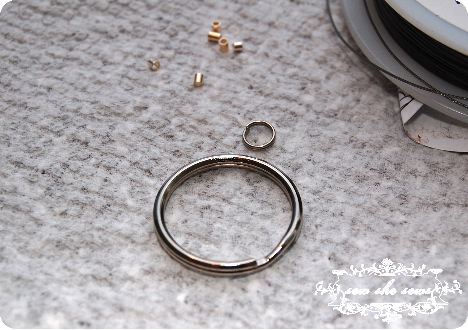
Large split ring, like the ones you use for your car keys. These can be found at craft stores in the jewelry or craft aisles.
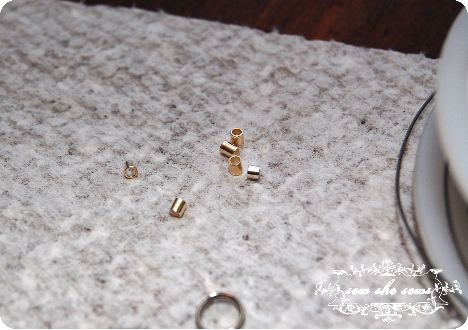
These are crimping tubes or crimping beads. I prefer the tubes to the beads, I think that they are easier to work with and look much clean and precise when finished.
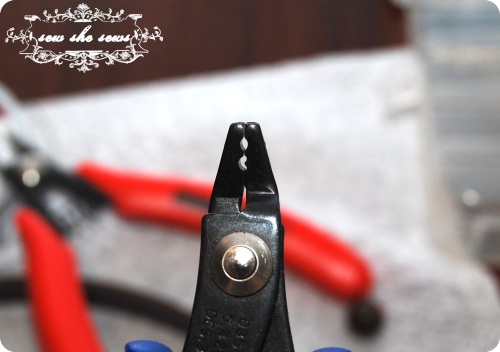
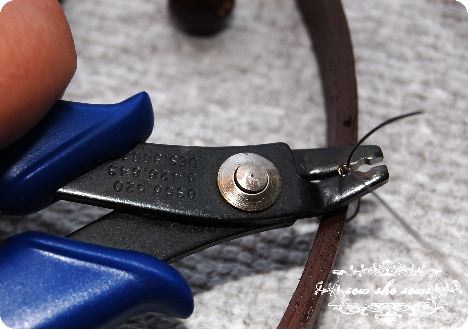
These are crimping pliers. They are inexpensive and can be found at craft stores in the beading section. These are made specifically to finish crimp beads. Notice the two notches on the pliers. You will want to make sure that your pliers have both. You may also use needle nose pliers and will not be finishing off the crimp bead. If you use needlenose pliers you will simply smash the crimp bead in between the pliers until it is really flat.
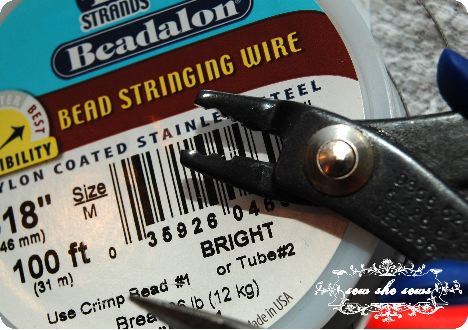
This is beading wire. The brand I prefer is Beadalon and can be found at most craft shops with beading sections. you can also find it online at http://www.artbeads.com . Cut your wire pieces at approx. 21″ long, this will give you enough length for a few inches additional length on each end. You will need this amount to finish off the ends.
2. Begin beading
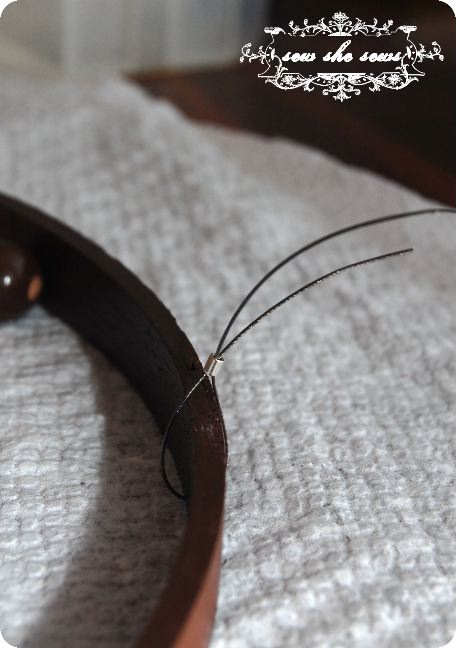
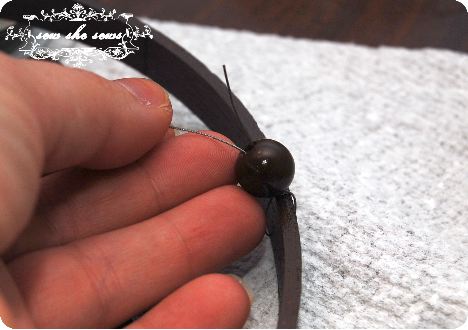
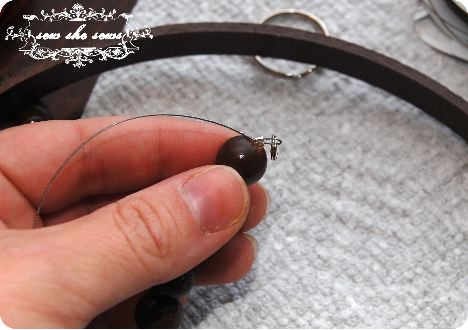
Start by putting a crimp bead onto the end of your wire. Wrap in the end of the wire around the wooden hoop and then back through the crimp bead. Pull on the tail of the wire to tighten. You want it snug but not too tight or you won’t have any movement with your mobile. You want about 1-2” length on the tail after tightening your wire. You will need this length later, DO NOT snip the access wire off.
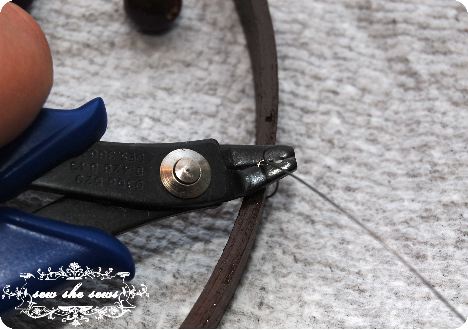
Using the notch furthest back on the crimping pliers, fit your crimp bead into the space. If you are using needlenose pliers, just squeeze and flatten the crimp bead until it is nice and flat and the wires are tightly held by the crimp bead.
Squeezing the crimp bead. This will make your crimp bead U-Shaped. It is ideal to have one wire in each of the sides of the U. If that doesn’t happen, don’t sweat, just make sure it is all nice and tight at the end.
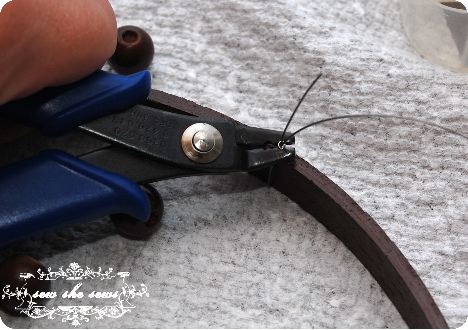
Once you have made the first indents in the bead, it is time to finish crimping it. Turn it sideways with the U facing out past the nose of the pliers. Setting the bead into the first notch on the pliers (the oval shaped notch) carefully squeeze the crimp bead until the U-Shape is smashed together and becomes a tightly closed U-Shape. This should have tightly secured your wires. I like to use the very tip of my pliers or some needlenose pliers and give it one more good squeeze.
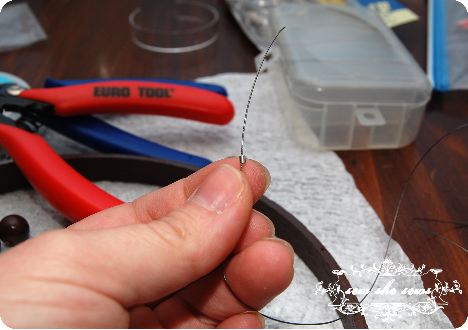
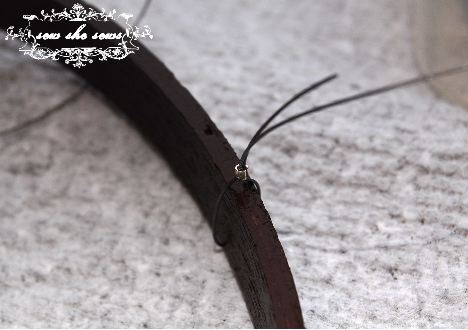
Tightened and finished crimp bead.
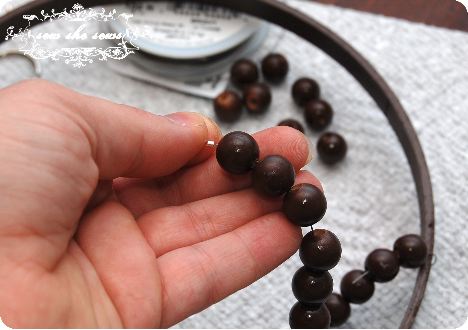
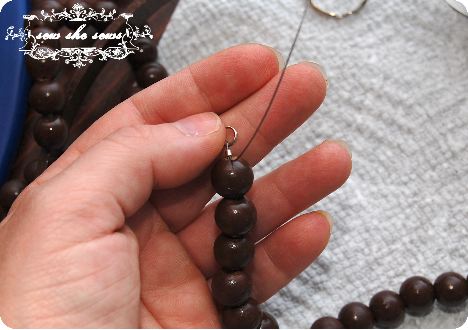
Now begin threading your beads onto the wires. I like to use 18 beads per wire. Make sure that you put the first beads over the tail as well. You want to cover it and make the wire secure.
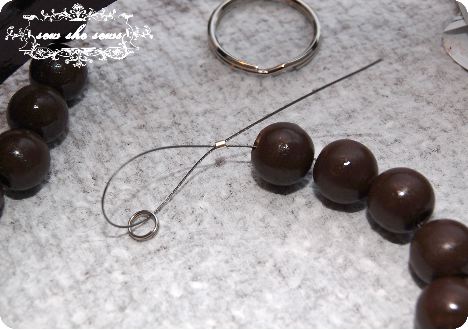
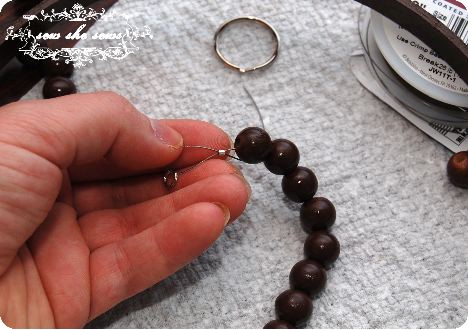
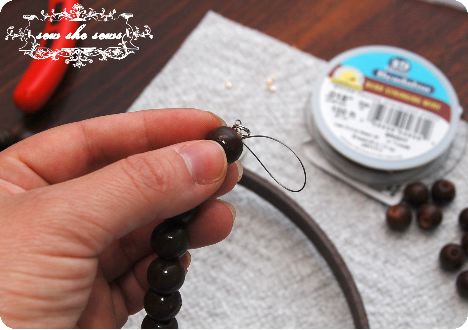
Thread all of your beads on to the wire and get ready to put the other crimp bead and small split ring on the end. Get both in your hands at the same time be sure to hold onto them or they will drop through the holes in the beads. Thread the end back through the crimp bead. Hold onto the crimp bead and slowly pull on the tail. This will shorten the slack. Once you get out of room, slide the crimp bead down to the top of the beads and repeat. Make sure that your bottom beads have stayed over the tail. Keep doing this until your crimp bead in snug and securly next to the beads.
Crimp the bead closed the same way that you did before making sure that you have the crimp bead tightly next to the beads.
Trim your tail to about 2”. Tuck the end into the beads holes until it is hidden.
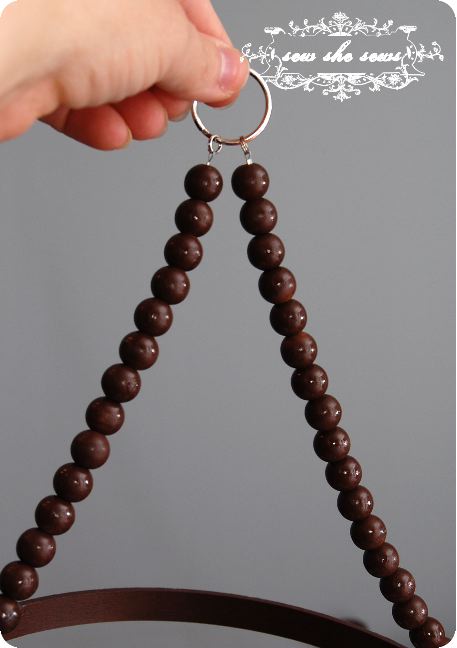
Continue until all four wires are complete! You are finished!
Happy Beading! 🙂


so so cool!!!! i need to show people on my blog!!!!
Thanks for the tutorial…I’ve been looking for a more affordable chandelier (found here http://www.shinebysho.com/catalog/149-catalonia-small-chandelier for $690) I think I might be able to make something similar….
thanks!!
Thank you so much for your beading tutorial and your great mobile idea! I just recently made one for my friend who is due at the end of this month. I had some trouble with the beading but I still love the final result! Check it out here: http://craftymominaz.blogspot.com/2010/09/baby-bedding-finale.html
Hi there! I loaded pictures of my mobile to your flickr group! Please feel free to feature on your blog. Again, thanks for such a great tutorial!
I’m working on this for my little guy – it is SO absolutely divine!! What size is the embroidery hoop you are using?
THANK YOU!! 🙂
Hi there! 🙂 I use a 7″ embroidery hoop, but 8 works really well too.
what size beads did you use?
I don’t know what size beads she uses, but I picked up the 16mm because they looked the comparable to what she has. I *hope* this is the right size!!
sounds about right on the size, I have done several different sizes and they all worked fine as long as they are small beads.
I followed your tutorial and made my own mobile (completely different colors of course) but am trying to do the last part of stringing the beads..I am not sure about the size of the crimp tubes, the size of the small key rings, or the size crimping pliers. I have been to a couple craft stores, but there are all different sizes of all those things and I don’t know anything about it to choose. Help?
Hmmm I don’t have any of the packages anymore. I would get the pliers first and see what size they recommend on the package for the crimp tubes and beads. I think I buy the middle size of those, not sure what they exactly measure though. The craft split rings are the smallest that you can get, I would say they are the diameter of a pencil eraser. I get the regular key ring size for the larger. Hope that helps!
I read somewhere that you or someone had these kits available for purchase on Etsy?? The supplies needed to make the beading, etc? I went to Hobby Lobby and Michaels and couldn’t find ALL that I needed to make my mobile! I only have 12 weeks left so I need to get one done!!! Do you still sell a kit?
I love this tutorial. I am having a hard time tucking the last piece of trim into the beads. Do you have any tips or techniques to get it completely in?
Are you tucking it into several beads or have you already clipped wire and iris poking out instead of burying in the bead?
Hello there! Would you mind if I share your blog with my myspace group?
There’s a lot of folks that I think would really enjoy your content. Please let me know. Thanks
Hi there! I just wish to give a huge thumbs up for
the great information you have got right here on this post.
I will likely be coming again to your weblog for extra soon.