Ok, I have a tutorial for all of you! I have been making these crowns a long time and we just love them around here. I decided to take pictures for a tutorial, let me know if you have any questions or if anything is unclear! This tutorial is for PERSONAL USE ONLY . I don’t care if you make them for your friends or your friend’s friends, but please don’t sell them or sell the tutorial. Thanks! 🙂


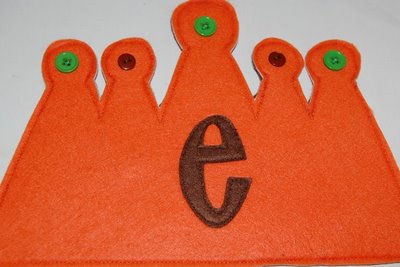
6. Sew letter onto crown (top layer only). Lengthen your stitches a tad. I have a digital machine and I just go up one notch.


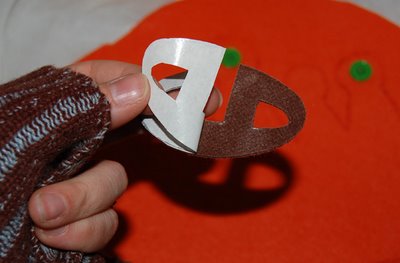
9. Using sharp scissors cut around the crown shape leaving approx 1/8″-1/4″ allowance. Make sure you don’t snip any stitches especially on the backside. Better to have more than to ruin it.

10. Insert 3/8″-1/2″ width elastic ( elastic length should be: measure the child’s head and subtract the length of the crown+2″ for where the elastic goes into the crown. Sweet Girl is 3 years old and her head measures 20″) about 1″ into one side and sew shut. I reverse and then go back over so 3 rows of stitches so it doesn’t pull out.

11. Take your fabric that you will use to cover elastic. Cut at 3.5″xdouble the length of your elastic (you want it to bunch up when the elastic is not being pulled). Iron short ends and sew down. Fold in half right sides together and sew using a 1/4″ seam allowance. Zig zag or serge edges.

Flip tube right side out. Iron flat.

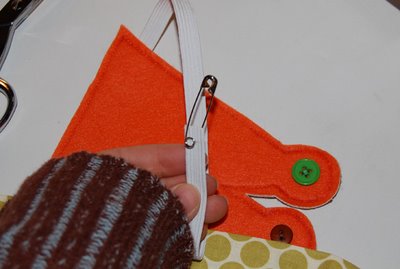
12. Attach large safety pin onto end of elastic. Use this to guide the elastic through the fabric tube.
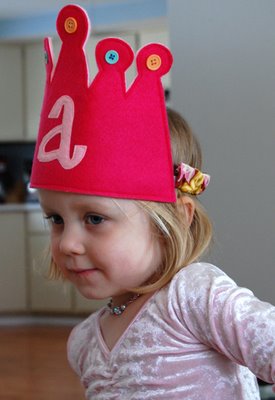
14. You are done!!






How cute! I’m going to make one for a first birthday with a “1” on it.
So cute!! I posted a link to your tutorial on Craft Gossip Sewing:
http://sewing.craftgossip.com/tutorial-felt-birthday-crown/2009/11/15/
–Anne
that looks great. i might try it for my daughter’s 1st birthday.
Thanks for the easy tutorial! Anything I can follow at 2 in the morning is a perfect guide in my opinion! My little girly girl loves things on her head! Can’t wait for her to wake up in the morning to her birthday crown!
Love it! I just made three for my daughters and their best friend for a dress-up themed birthday party tomorrow. Thanks for such a great tutorial!
Making 8 of these for my daughter’s bday party! Quite the fun and fancy party favor! It’ll be a big hit. Great tutorial! Thanks!
This looks spectacular! My daughter would love this – you’ve inspired me to make her one. :o) Thanks so much for sharing!
You’re welcome 🙂